")
Lash lifts are one of the most popular beauty treatments to give your lashes a natural-looking curl without the hassle of using curlers. Have you ever wanted to give your lashes a lift without using expensive salon treatments? Applying a lash lift kit is easy and can be done at home by applying a lash lift kit correctly. In this article, we will discuss what a lash lift is, the benefits of lash lift kits, and a step-by-step guide on how to perform a lash lift at home.
Table of Contents
What Is Lash Lift?
Lash lift is a cosmetic treatment that involves curling and lifting the natural lashes to enhance their appearance. It is a popular treatment among those who want to achieve a more dramatic and awake look without using false lashes or extensions. Lash lift involves using a special adhesive and lash lift rods to curl the lashes from the roots. The lashes are then coated with a lash lift lotion that sets the curl. Finally, a neutralizing lotion is applied to fix the curl and complete the process.
")
Benefits Of Lash Lift Kits
Lash lift kits offer several benefits over other lash treatments. Here are some of the benefits of using a lash lift kit:
- Affordable: Lash lift kits are affordable for those who want to achieve the look of longer, fuller lashes without breaking the bank.
- Low maintenance: Unlike lash extensions, the lash lift does not require regular maintenance. Once the treatment is done, you can enjoy the results for several weeks without needing any touch-ups.
- Natural look: Lash lift enhances the natural lashes, giving them a more defined and voluminous look. It is a great option for those who want to enhance their natural beauty without using false lashes or extensions.
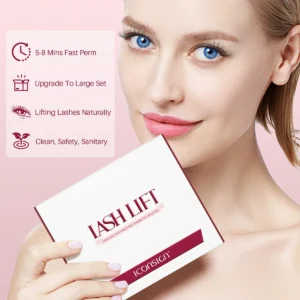
- Time-saving: Lash lifts can be done in under an hour, making it a time-saving option for those with busy schedules.
")
Step-By-Step Guide
Now that we know what a lash lift is and the benefits of using a lash lift kit, let’s look at how to perform a lash lift at home.
Step 1: Prepare Your Lash Lift Kit
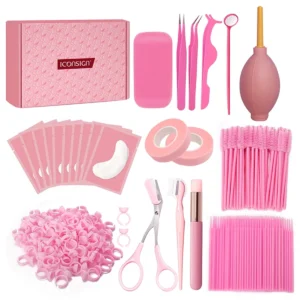
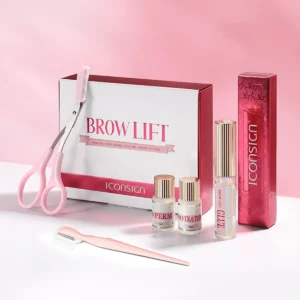
Before starting the lash lift process, you must prepare your lash lift kit. Here are the items you will need:
Adhesive
You will need a lash lift adhesive to hold the lashes in place during the lifting process.
Lash Lift Rods
Lash lift rods come in different sizes; you must choose the right size for your lashes. The size of the rod will determine the amount of lift you get.
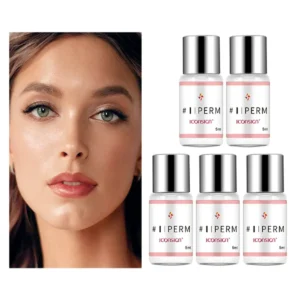
Lash Lift lotion
Lash lift lotion is used to curl the lashes. It is important to choose a lotion that is suitable for your lash type.
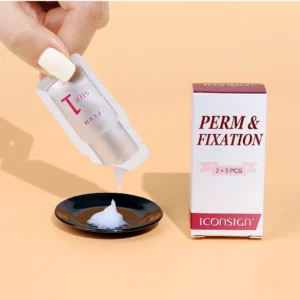
Neutralizing lotion
Neutralizing lotion is used to fix the curl and complete the process.
Step 2: Choose the Right Lash Lift Rod
Choosing the right lash lift rod is crucial to achieving the desired lift. The rod size should be based on the length and thickness of your natural lashes. If you have shorter lashes, a smaller rod will give a more dramatic lift, while a larger rod will give a more subtle lift.
Step 3: Cleanse Your Lashes
Before starting the lash lift process, ensure your lashes are clean and free from any makeup or oil. Use a gentle cleanser to remove debris and ensure your lashes are dry before applying the adhesive.
Step 4: Apply the Adhesive
Apply the lash lift adhesive to the back of the lash lift rod and place it on your eyelid, as close to the lash line as possible. Use gentle pressure to ensure that the rod is firmly in place.
Step 5: Place the Lash Rod
Using a lash tool, carefully place your lashes on the rod, ensuring they’re evenly spaced. Be careful not to pinch your skin or pull your lashes.
Step 6: Apply setting lotion
Use a clean cotton swab to apply the setting lotion to your eyelashes. This process requires patience and waiting for some minutes until each eyelash is covered with the setting lotion until the eyelashes are set.
Step 7: Apply repairing lotion
After cleaning the setting lotion off your eyelashes with a makeup cotton pad, evenly apply the repairing lotion to the roots of your eyelashes and cover your eyebrows with plastic wrap. Wait for 8-12 minutes to allow the repairing lotion to be better absorbed by the eyelashes.
Step 8: Clean your eyelashes
Use the cleansing agent in the eyelash lift kit to remove any residue from your eyelashes. Make sure there is no residue left on your eyelashes. Otherwise, your eyelashes may become over-curled within a day or two.
Step 9: Apply nourishing lotion
Gently apply the nourishing lotion to your eyelashes with a cotton swab and comb your eyelashes with an eyelash brush to achieve the perfect look. Repeat the above steps on the other eye.
")
Conclusion
Thank you for reading. If you want long and curly eyelashes without going to a beauty salon, an eyelash lift kit is the best choice. An eyelash lift kit costs between 20-50 US dollars and one kit can be used 10 times or more, which is very affordable. The above article introduces the detailed steps for using an eyelash lift kit, helping you easily learn how to lift lashes and have curly eyelashes effortlessly at home. If you want to try an eyelash lift kit, you can go to the ICONSIGN website to purchase your favorite eyelash lift kit.